First off, I would like to welcome all of my new followers from the blog hop yesterday! Wasn't it fun?!? I promised yesterday that I would post all of the things I made for my now 3 year old's birthday party this weekend. It was so much fun and most importantly, he loved it!!
Before I start with all of the pictures I wanted to go ahead and give you the link to the digital scrapbook kit that I bought and was able to use in my silhouette for a lot of my decorations. The website is called RLR Creations. It was only $5.50 for the entire kit and can be used over and over however you want!
Ok, on to the pics of the party :-)
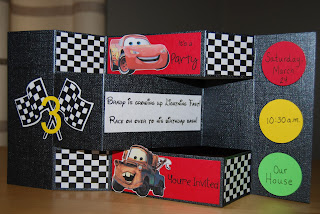
Invitations
All the details for the invitations are on a previous post! Click here
Sarges Surplus of Sweets
I wanted to keep all the sweet inside and thought they made the table a lot more colorful!
The white-wall and black-wall tires came to me as I was trying to sleep. I thought these little donuts would be perfect. I just made the tags on my computer and put them on colored cardstock. Luigi is one of the cuts from the digital kit. You can make them any size you want and then cut them with the cameo!!
I found the cupcake stand at Party City and it holds 24! All of the cupcake toppers are cuts from the digital kit and then I taped them to toothpicks. Super easy and quick! The 3 at the top is actually cut on vinyl with my cameo just to personalize it a little bit more :-) This cupcake stand is now in my son's room and he puts his cars on it!
I have seen these "gumball machines" many times so decided to make one for the party. I got all of the supplies at Michaels. It's a terracotta pot, the lid is the piece the pot usually sits on and then the handle on top was in their would section. The glass is one of the little "fish bowls" also from Michaels. I painted everything and then used vinyl and the Waltograph font on my silhouette studio to put my son's name and the 3. I filled it with skittles for the party, but I am actually going to use it as a coin bank and put it in his room. The checkered paper was made by my husband using Microsoft excel. Isn't he awesome ;-)
Rice Krispy treats with chocolate frosting and skittles for the lights
Stick pretzels dipped in melted chocolate.. Yum!
Sarge is from the digital kit. Here is a link to the signs I used. Click here!
I bought some Cars temporary tattoos from Party City and all of the kids loved them (even a couple parents!)
You can also use your silhouette with their tattoo paper and make your own but I ran out of time!
Super easy and a fun addition to the party ;-)
The tables were made with black tablecloths and white paper cut for the stripes. The characters were made with my cricut expression for his Car's party last year. I am using votive candle holders to weight them down.
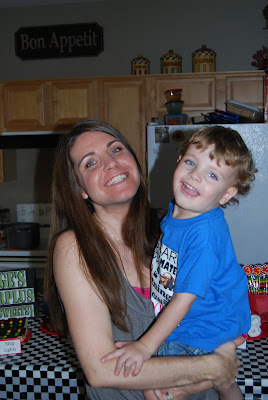
Had to throw one in of me and my sweet birthday boy ;-)
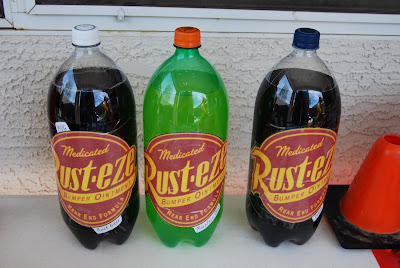
Iced tea!
Found these labels on the internet and then made them bigger in microsoft word and cut them out.
More cuts from the digital kit (I just added the signs to them)
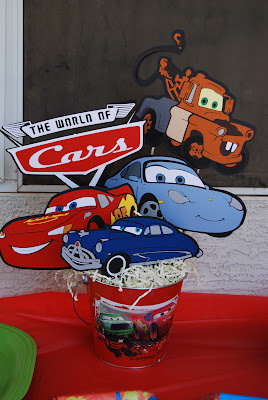
Made with the cricut and the pail is from Hobby Lobby
The traffic cones belong to my husband. He is a track/cross-country coach and let me use them ;-)
Gift table!
Party Favors. I made homemade play-doh and rolled them into balls to look like traffic lights. The little bags are from Michaels and I taped them onto black paper. I also included the recipe to make their own play-doh!
Each child also received their own skittle stick to take home. I used my scalloped and round paper punches and then cut the three on my silhouette
Here is the recipe to make your own play-doh. It is really soft and makes a good amount!
1 cup flour
1 cup water
1/4 cup salt
2 tsp cream of tartar
1 Tbsp vegetable oil
4 drops of food coloring
Combine all ingredients over medium heat and stir until it forms into a ball. Remove from heat and cool on wax paper. Once cool, knead a few times and store in air tight container!
And finally, No party would be complete without a Disney Cars bounce house!
Brady's new Disney Cars bike!
Ok, one more picture.... I hang balloons from my kid's doorways the night before their birthdays and they love waking up to it ;-)
I found a lot of my party ideas from this website and want to give credit to her! Click here to check her party out!
Have a great day!
~Rebekah


